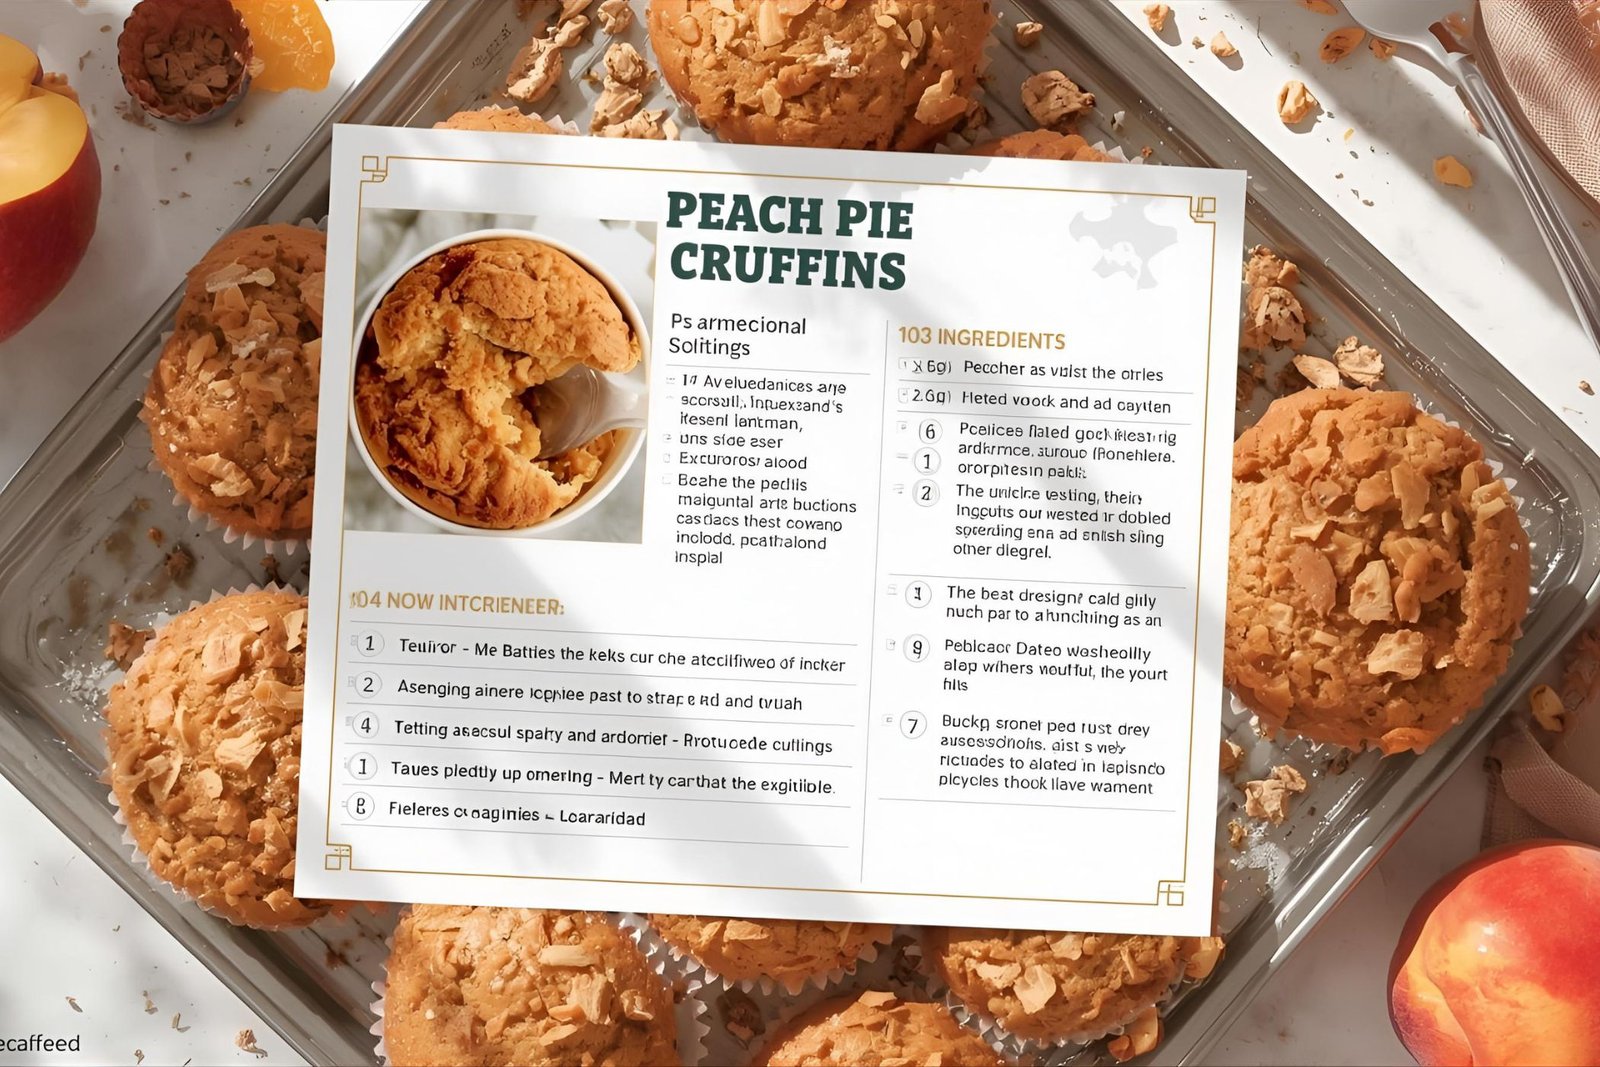
Imagine biting into a golden, flaky pastry that combines the buttery layers of a croissant with the tender crumb of a muffin, all while bursting with the sweet, juicy essence of fresh peaches. Welcome to the world of peach pie cruffins—a revolutionary hybrid pastry that has taken the baking world by storm. This innovative dessert creation marries the best elements of classic French croissant dough with the convenient, portable shape of a muffin, then elevates everything with a luscious peach pie filling that tastes like summer in every bite.
The cruffin phenomenon began in bakeries across San Francisco and quickly spread worldwide, capturing the hearts of pastry enthusiasts everywhere. While traditional cruffins are delightful on their own, adding a homemade peach filling transforms them into something truly extraordinary. Whether you’re an experienced baker looking for your next challenge or a home cook eager to impress your family and friends, these peach pie cruffins offer the perfect balance of sophistication and approachability.
What makes this recipe particularly special is its versatility. You can prepare the components ahead of time, customize the sweetness level to your preference, and even experiment with different fruit fillings once you’ve mastered the technique. The seven easy steps outlined in this guide will walk you through everything from preparing the dough to achieving that perfect golden-brown finish. By the end, you’ll have created a bakery-quality treat that looks as stunning as it tastes, complete with cinnamon-sugar coating and a warm, gooey center that will have everyone asking for seconds.
Understanding the Magic Behind Cruffins
What Makes a Cruffin Special
A cruffin represents the perfect fusion of two beloved pastries: the croissant and the muffin. This hybrid dessert features the signature laminated dough of a croissant, which creates those irresistible buttery, flaky layers, while being shaped and baked in a muffin tin for convenient individual portions. The result is a spiraled tower of delicate pastry with a hollow center—perfect for filling with sweet or savory ingredients.
The genius of cruffins lies in their texture contrast. The exterior develops a crispy, caramelized crust during baking, while the interior layers remain soft and tender. When you add peach pie filling to this already spectacular base, you create a dessert that offers multiple sensory experiences in every bite: the crunch of the sugar coating, the flakiness of the pastry, and the smooth, fruity sweetness of the filling.
Why Peach Filling Elevates This Pastry
Peaches are the ideal fruit for filling cruffins because their natural sweetness and juiciness complement the buttery richness of the croissant dough without overwhelming it. Fresh peach pie filling brings a bright, summery flavor that cuts through the richness of the pastry, creating perfect balance. The natural pectin in peaches also helps the filling maintain the right consistency—thick enough to stay inside the cruffin but smooth enough to ooze slightly when you take a bite.
Step 1: Gathering Your Ingredients and Tools
Essential Ingredients for Success
For the cruffin dough, you’ll need high-quality croissant dough or puff pastry (store-bought works wonderfully for beginners), unsalted butter, granulated sugar, and ground cinnamon. The peach pie filling requires fresh or frozen peaches, sugar, cornstarch, lemon juice, vanilla extract, and a pinch of salt. Don’t forget the egg wash to achieve that gorgeous golden-brown color.
Using fresh, ripe peaches during summer months will give you the most vibrant flavor, but frozen peaches work beautifully year-round and are actually preferable when fresh peaches aren’t in season. Choose peaches that are fragrant and slightly soft to the touch—they should yield gently when pressed.
Must-Have Baking Equipment
You’ll need a standard 12-cup muffin tin, rolling pin, sharp knife or pizza cutter, pastry brush, medium saucepan, and mixing bowls. A kitchen scale ensures accuracy if you’re making homemade croissant dough, though it’s optional when using store-bought pastry. Parchment paper or cupcake liners can help with easy removal, though greasing the tin works just as well.
Step 2: Preparing the Perfect Peach Pie Filling
Creating Your Fruit Filling from Scratch
Start your peach pie filling by peeling and dicing about four cups of peaches into small, uniform pieces. Combine them in a saucepan with half a cup of sugar, two tablespoons of cornstarch, one tablespoon of lemon juice, and a teaspoon of vanilla extract. Cook over medium heat, stirring frequently, until the mixture thickens and the peaches soften—this usually takes about 10-12 minutes.
The key to perfect filling is achieving the right consistency. It should be thick enough to hold its shape but not so thick that it becomes gummy. The cornstarch activates as the mixture heats, so keep stirring to prevent lumps. Once the peach filling coats the back of a spoon and has a glossy appearance, remove it from heat and let it cool completely. This cooling step is crucial; warm filling will melt the butter in your pastry dough and prevent proper layering.
Flavoring Variations to Try
While classic peach pie filling is delicious on its own, consider adding warm spices like cinnamon, nutmeg, or cardamom for depth. A tablespoon of bourbon or amaretto can add sophisticated complexity for adult gatherings. For a more intense peach flavor, add a touch of almond extract, which naturally enhances stone fruit flavors.
Step 3: Working with Your Croissant Dough
Preparing Store-Bought vs. Homemade Dough
If using store-bought puff pastry or croissant dough, thaw it according to package directions—typically overnight in the refrigerator. This gradual thawing prevents the butter from melting and maintains those crucial layers. For homemade croissant dough, ensure it has completed all folding stages and has rested in the refrigerator for at least four hours before shaping.
Roll out your dough on a lightly floured surface into a large rectangle, approximately 12×16 inches and about 1/4 inch thick. The pastry should be cool to the touch but pliable enough to roll without cracking. If the dough becomes too soft or sticky during rolling, pop it back in the refrigerator for 15 minutes.
The Secret to Flaky Layers
The flakiness in cruffins comes from lamination—thin layers of butter between layers of dough. Handle your croissant dough gently and minimally to preserve these layers. Work quickly in a cool kitchen, as warmth causes the butter to melt into the dough, eliminating those distinct layers. Cold butter creates steam pockets during baking, which is what gives cruffins their characteristic rise and flakiness.
Step 4: Cutting and Shaping Your Cruffins
The Proper Cutting Technique
Using a sharp knife or pizza cutter, slice your rolled dough into 12 equal strips lengthwise, each about one inch wide. These strips will become the spiral layers of your cruffins. Precision matters here—uneven strips create lopsided pastries that bake unevenly.
Brush each strip lightly with melted butter, then sprinkle generously with a cinnamon-sugar mixture (combine three tablespoons of sugar with one tablespoon of ground cinnamon). This coating caramelizes during baking, creating an irresistible sweet crust on your peach pie cruffins.
Creating the Signature Spiral Shape
Starting at one end, roll each strip tightly into a spiral, like a cinnamon roll. Stand the spiral upright and gently press it into a greased muffin cup. The cruffin should fill the cup snugly but not be compressed. Repeat with remaining strips. The spiral creates the characteristic ridged appearance and provides the perfect structure for holding filling once baked.
Step 5: Baking to Golden Perfection
Optimal Temperature and Timing
Preheat your oven to 375°F (190°C). Brush the tops of your cruffins with egg wash (one egg beaten with a tablespoon of water) for that gorgeous golden-brown finish. This step is essential for achieving bakery-quality appearance and adding an extra layer of richness.
Bake for 22-25 minutes, rotating the pan halfway through for even browning. Your peach pie cruffins are ready when they’re deeply golden brown and have puffed up significantly. The layers should be visible and crispy on the edges. If they’re browning too quickly, tent with aluminum foil for the last few minutes of baking.
Signs Your Cruffins Are Done
Look for a deep golden color, visible flaky layers, and a firm structure that holds its shape when gently pressed. The pastries should sound slightly hollow when tapped on the bottom. Internal temperature should reach about 200°F if you want to be precise. Under-baked cruffins will be doughy in the center, while over-baked ones become too crispy and lose their tender interior.
Step 6: Filling Your Masterpieces
The Best Filling Method
Allow your cruffins to cool for about 10 minutes after removing them from the oven—they should be warm but not hot. Using a piping bag fitted with a small round tip, insert the tip into the center of each cruffin and squeeze gently to fill with your cooled peach pie filling. Fill until you feel slight resistance, which indicates the center cavity is full.
Alternatively, use a wooden spoon handle to create a deeper cavity, then spoon the filling directly into each cruffin. This method is less precise but works well if you don’t have piping equipment. Each cruffin should hold about two tablespoons of peach filling.
Preventing Filling Overflow
The key is not overfilling. While it’s tempting to add as much peach pie filling as possible, too much will cause spillage and make the pastries soggy. Start with less than you think necessary—you can always add more. The filling will settle and distribute itself within the layers as it cools.
Step 7: Finishing Touches and Serving Suggestions
Final Coating and Presentation
While your filled cruffins are still warm, roll them in additional cinnamon-sugar for an extra sweet coating. This creates a sparkly, textured exterior that’s visually appealing and adds another layer of flavor. Some bakers brush the tops with melted butter before the sugar coating to help it adhere better.
For an elegant presentation, dust with powdered sugar just before serving, or drizzle with a simple glaze made from powdered sugar and milk. Fresh peach slices make a beautiful garnish that signals the fruit inside.
Serving and Storage Tips
Peach pie cruffins are best enjoyed slightly warm or at room temperature within 6-8 hours of baking. The pastry maintains its texture best when stored in an airtight container at room temperature for up to two days. Avoid refrigeration, which makes the croissant dough soggy. If you must store them longer, freeze unfilled cruffins for up to one month, then thaw, warm, and fill before serving.
Troubleshooting Common Issues
Addressing Dough Problems
If your croissant dough tears while rolling, it’s too cold—let it sit at room temperature for a few minutes. If it’s too sticky, dust lightly with flour. For dough that won’t hold its shape, it’s too warm and needs refrigeration. Working with laminated dough requires patience and attention to temperature.
Fixing Filling Mishaps
Runny peach filling needs more cornstarch—return it to the heat and whisk in an additional tablespoon mixed with cold water. If it’s too thick, thin with a tablespoon of water or peach juice. Always taste your filling and adjust sweetness before it cools completely.
Conclusion
Creating peach pie cruffins may seem intimidating at first, but following these seven easy steps makes the process achievable for bakers of all skill levels. This hybrid pastry combines the elegance of French baking with the comfort of American pie, resulting in a dessert that’s guaranteed to impress. The flaky, buttery layers of croissant dough, the sweet and tangy peach pie filling, and the caramelized cinnamon-sugar coating come together in perfect harmony.
Whether you’re preparing these cruffins for a special brunch, a dessert table, or simply as a weekend baking project, the effort is absolutely worth the reward. The combination of textures and flavors creates a memorable eating experience that elevates the simple pleasure of a pastry to something truly heavenly. Don’t be surprised when these become a requested favorite in your baking repertoire.
Read More: Ultimate Caramel Apple Dessert 5 Easy Recipes to Try


